
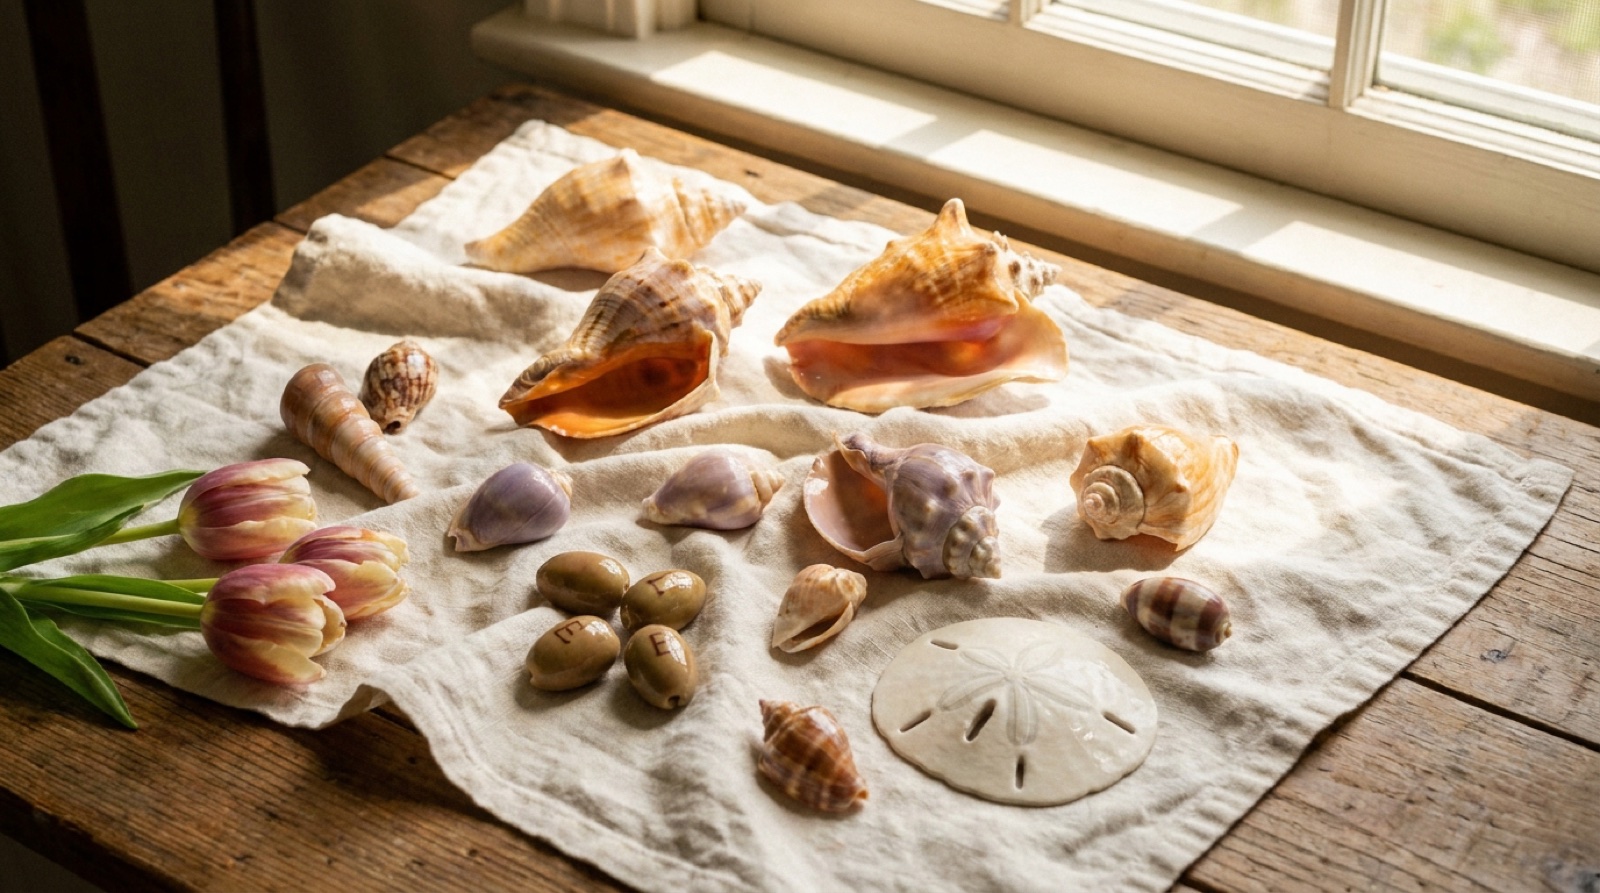
🐚 At a glance
- Total time
- An overnight soak plus a day to dry — only about 5 minutes hands-on
- You’ll need
- Bucket, old toothbrush, peroxide or bleach, mineral oil, a soft cloth
- That brown skin
- The periostracum — soak it soft, then brush it off
- For the shine
- A thin coat of mineral oil — deepens color, never bleaches it
- Golden rule
- Empty shells only; live shells, sand dollars & starfish are protected here
From Beach to Shelf
Turn a sandy, salty haul into glossy keepsakes — in 5 steps
- 1
Soak
Overnight in fresh water to loosen sand, salt & silt.
- 2
Strip the skin
Brush off the brown periostracum to free the color.
- 3
Brighten
A peroxide soak, or a quick 50/50 bleach dip.
- 4
Dry fully
A day in the shade — never blasting sun.
- 5
Shine
A thin coat of mineral oil restores the gloss.
Pick your brightener
Shine secret: mineral oil gives that wet-from-the-Gulf gloss with zero bleaching. Empty shells only in Collier & Lee County.
What you’ll need
The good news: cleaning seashells takes almost nothing you don’t already own. You can do the whole job with stuff from under the kitchen sink, out on a porch or in a utility tub. Here’s the captain’s kit:
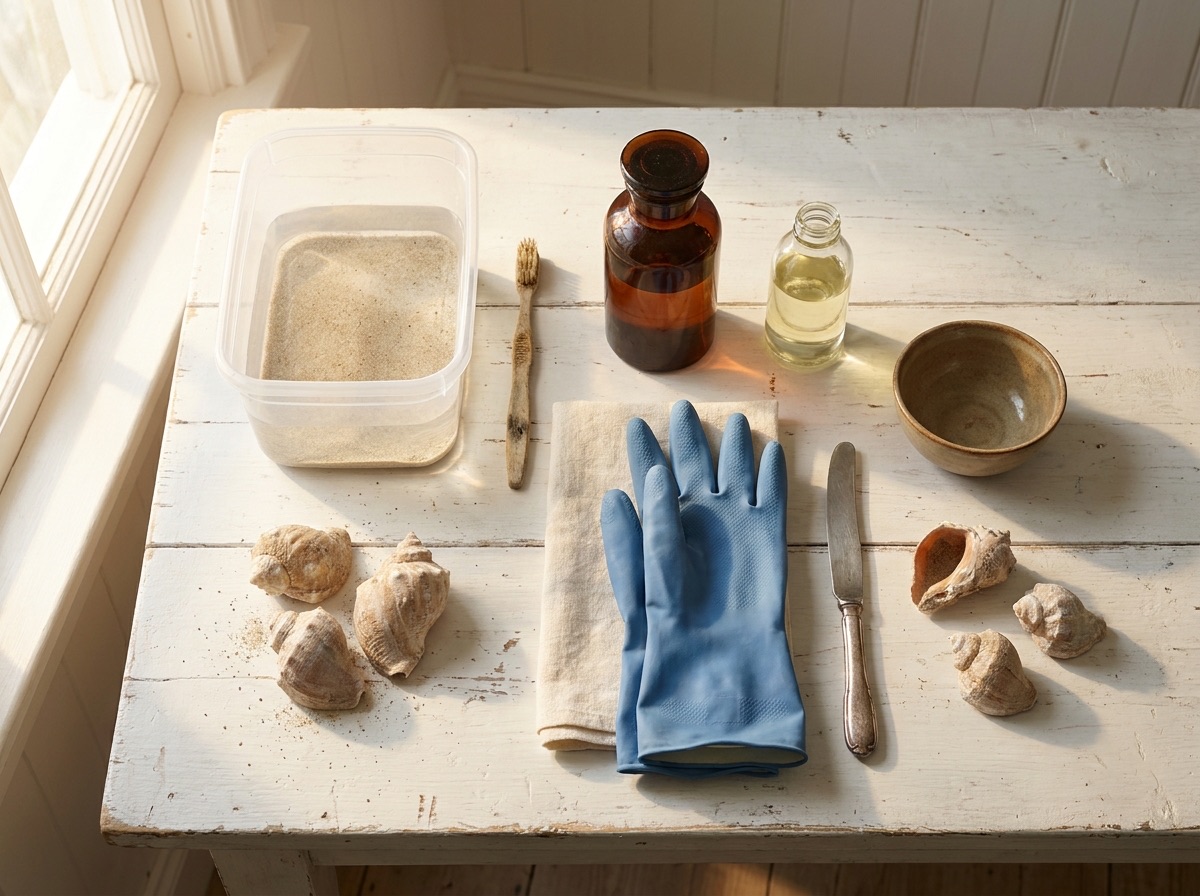
- A bucket or tub for the freshwater soak.
- An old toothbrush (and maybe a dull butter knife or a wooden skewer) for digging sand and skin out of the grooves.
- Household bleach and/or 3% hydrogen peroxide — your two brighteners.
- Mineral oil (baby oil works too) and a soft cloth for the final shine.
- Rubber gloves if you’re using bleach, and a shady spot to dry.
That’s it. If you want a deeper rundown of what to carry to the beach in the first place, see our guide to the best shelling gear.
Step 1: Start with a freshwater soak
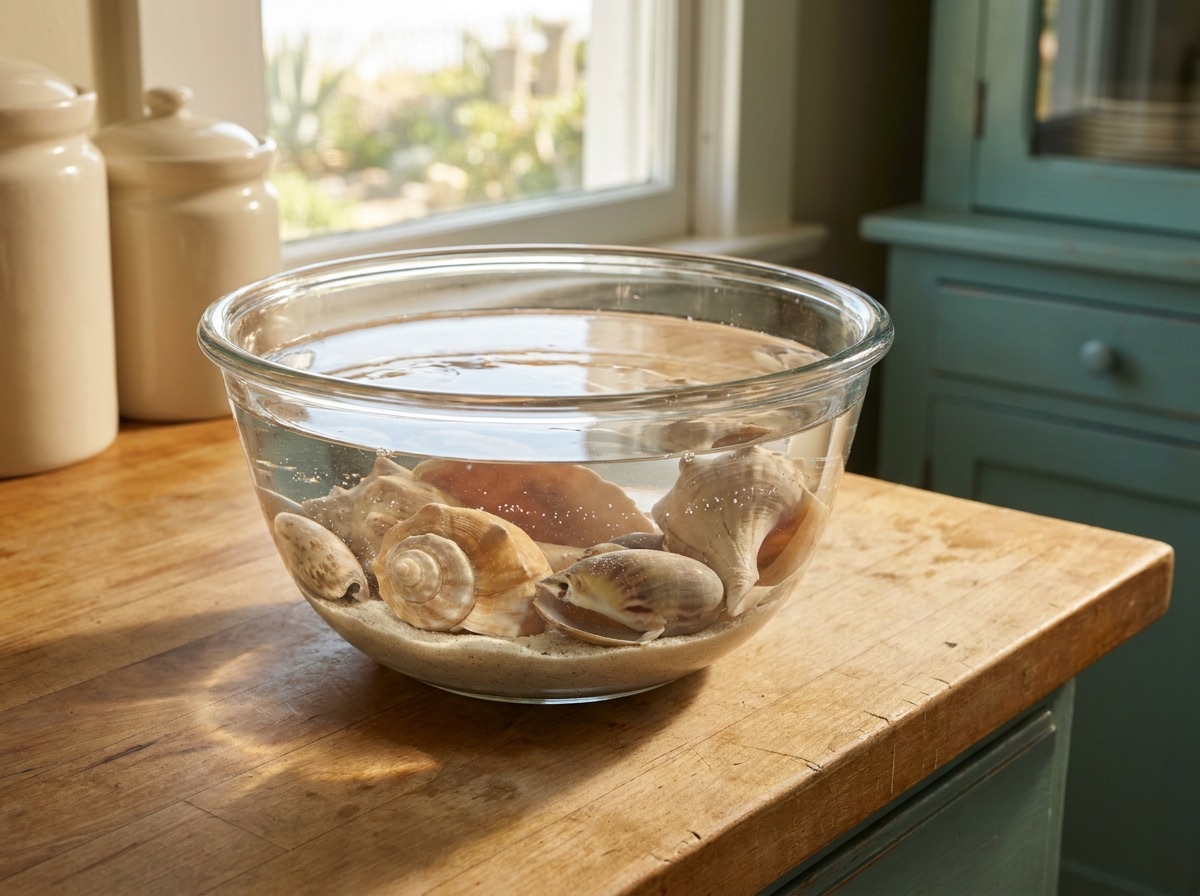
Before anything else, dump your shells in a bucket of plain tap water and let them sit overnight. Salt, sand and that fine gray island silt loosen up on their own, and an old toothbrush knocks the rest out of the grooves and knobs. If you collected with us on a shelling tour out in the Ten Thousand Islands, this is also your moment to double-check that every shell was genuinely empty — a sleeping hermit crab or a closed-up snail means it goes right back in the water. Cleaning only ever happens on shells that were already vacant.
Step 2: Strip off the brown skin
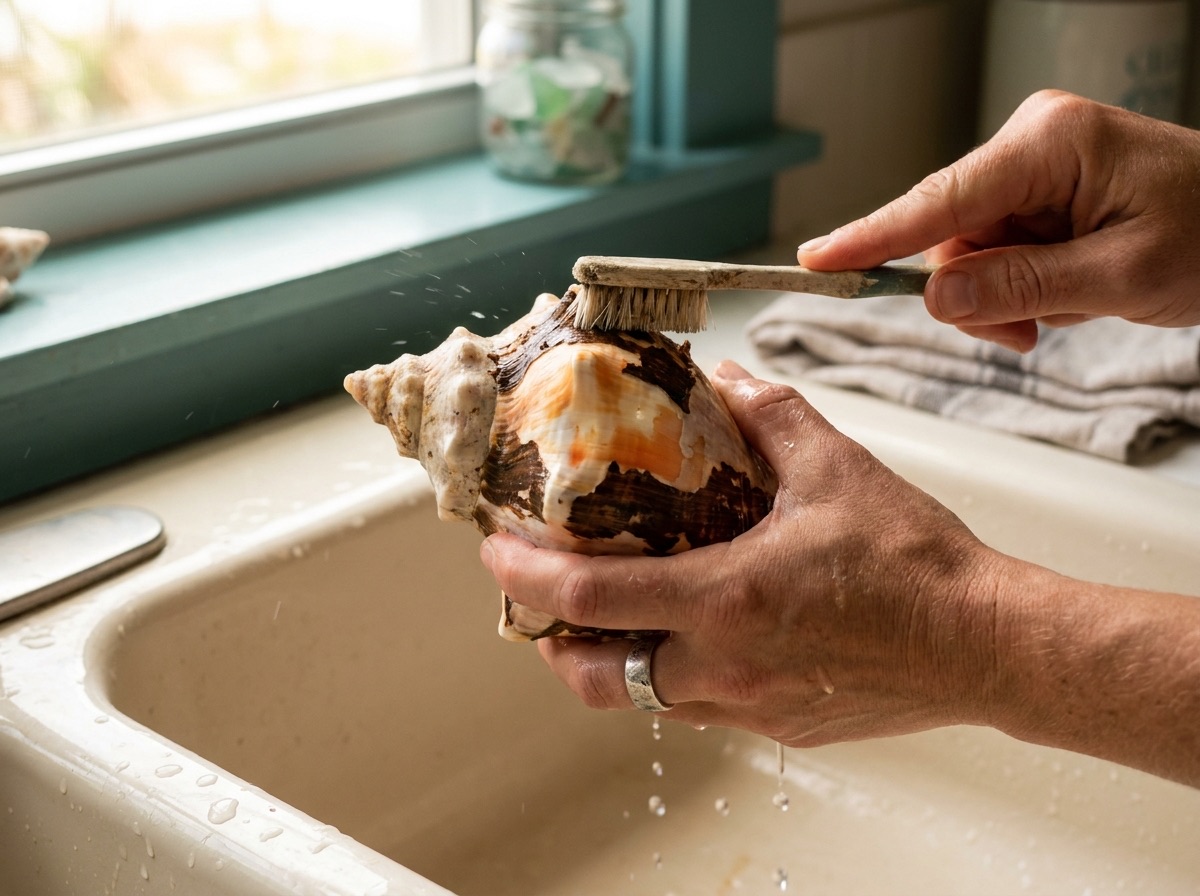
Lots of fresh shells — whelks especially — come ashore wearing a dull brown-gray coat called the periostracum. It’s a natural skin that protected the animal, and it hides the color underneath. Getting it off is what makes a shell truly pop. After the overnight soak the skin softens enough to peel and scrub away with the toothbrush or a dull knife; for stubborn patches, the bleach dip in the next step finishes the job. This is the same crust you’ll see on a fresh lightning whelk or a horse conch — once it’s gone, the true cream, orange and lavender tones come right out.
Step 3: Brighten — bleach vs. peroxide vs. soap
Now you choose your level. A 50/50 bleach-and-water dip is the fast, classic method — it dissolves leftover skin, algae and funk in an hour or two. The catch is that bleach can dull or strip natural color and leaves an odor, so don’t leave shells soaking for days. Hydrogen peroxide is the gentler route: it lifts grime and bubbles organic gunk out of the shell while being far kinder to the surface and the color. For delicate, glossy shells like a lettered olive or an alphabet cone, plain dish soap and a soft brush is often all you need — their natural polish is part of the shell, and harsh chemicals only risk dulling it.
| Method | Best for | Watch out for |
|---|---|---|
| 50/50 bleach dip | Crusty whelks, algae, tough periostracum | Can dull color; leaves odor; rinse well, don’t over-soak |
| Hydrogen peroxide | Most shells; gentler all-around brightening | Slower; may need a longer soak |
| Dish soap & brush | Glossy cones, olives, small delicate shells | Won’t remove heavy crust on its own |
Whichever you pick, rinse the shells thoroughly in clean water afterward and check them in good light. If a shell still looks cloudy, give it a second short soak rather than one long, color-killing marathon in the bleach.
Tackling barnacles, lime crust & coralline
Bigger shells often come home wearing barnacles or a chalky lime crust. The safest fix is mechanical: let the shell dry, then pop barnacles off with a dull knife, a flathead screwdriver or a small wire brush, working slowly so you don’t crack the shell. A rotary tool helps on really stubborn growth. You’ll see people online dunk shells in muriatic acid for a fast, glossy strip — we don’t recommend it for keepsakes. It’s genuinely hazardous to handle, and a few seconds too long literally eats the shell, etching the surface and rounding off the detail that made it worth keeping. Patience with a brush beats acid every time.
Delicate finds: sand dollars & sea urchins
Not everything gets the whelk treatment. A sand dollar is a thin, brittle skeleton, and one that’s fuzzy or brown is still alive — it goes back in the water, and in Collier and Lee County keeping a live one is illegal anyway. For a genuinely white, empty sand dollar: rinse gently, soak briefly in fresh water to clear any residue, then float it for just a few minutes in a weak bleach solution to whiten. Rinse, air-dry flat, and — because they crumble — brush on a 50/50 mix of white school glue and water to harden it for display. Don’t oil sand dollars or sea urchins; the goal with them is chalk-white and sturdy, not glossy.
Step 4: Dry, then bring out the shine
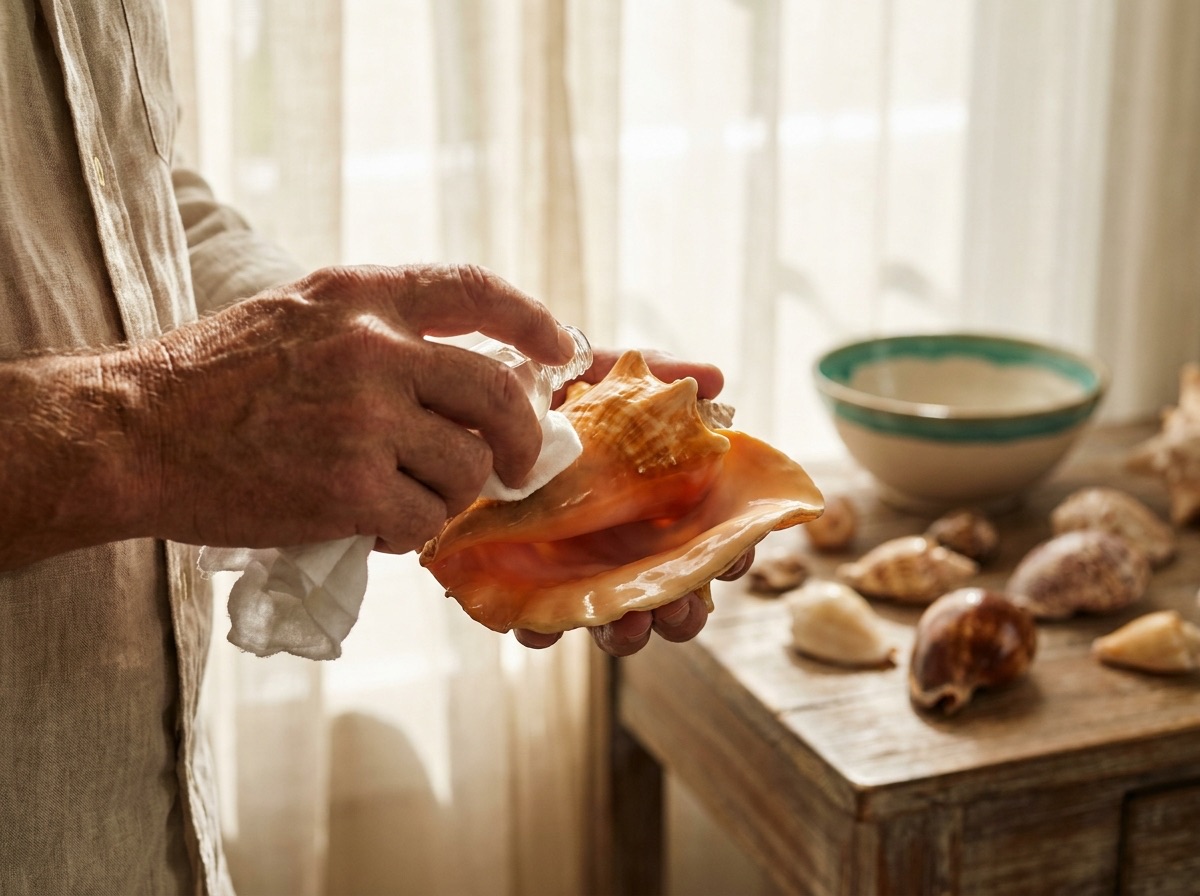
Whatever method you used, let every shell dry completely — a full day on a towel in the shade, never blasting sun, which can actually fade the colors you just worked to reveal. Once bone-dry, put a few drops of mineral oil on a soft cloth and rub a thin coat over each shell. It deepens the color and brings back that just-pulled-from-the-Gulf gloss without bleaching or altering anything. For a longer-lasting, non-greasy finish, museum-grade microcrystalline wax (sold as Renaissance Wax) buffs to a beautiful sheen. Skip the high-gloss lacquer sprays unless you want an obviously shellacked look — on natural shells, a little oil reads far classier.
Step 5: Store & display your collection
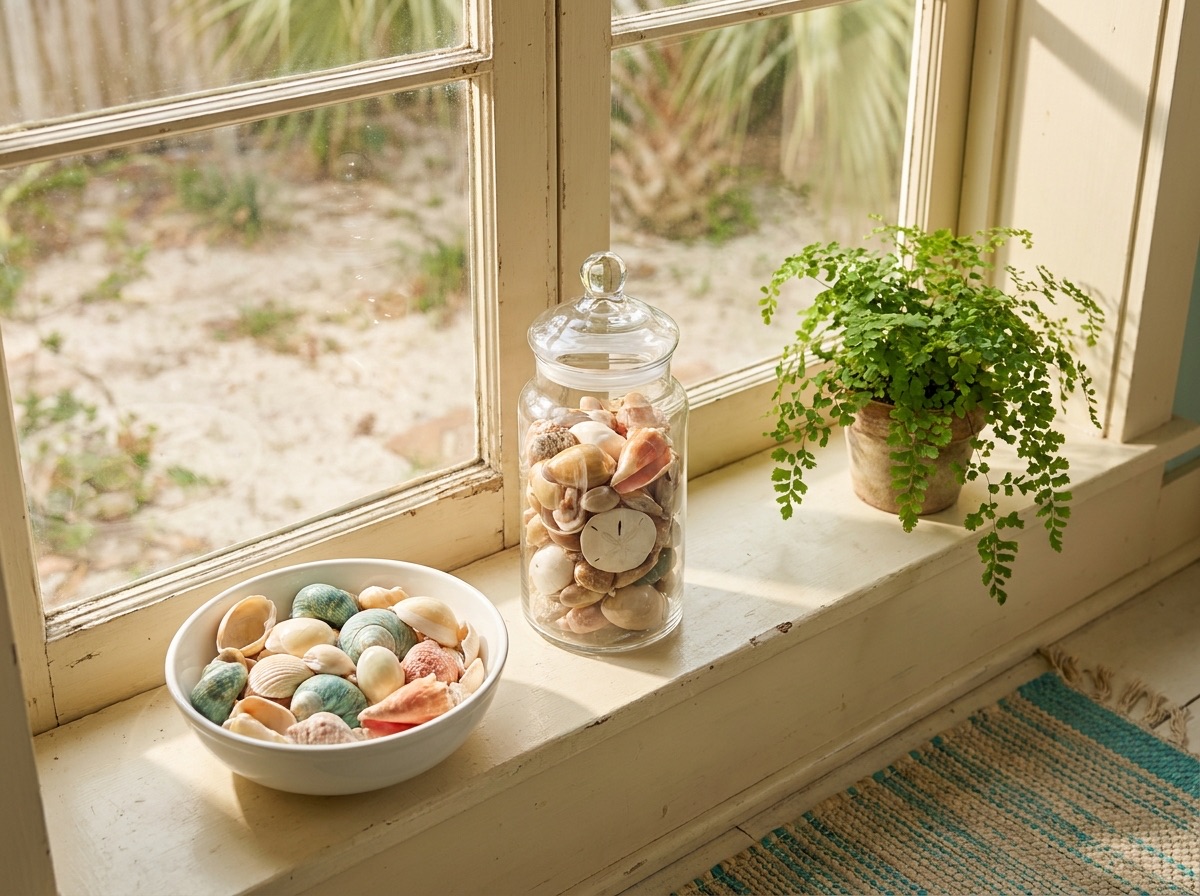
Store your shells in a single layer so they don’t chip against each other, and keep your best find — maybe a junonia, if you got lucky — somewhere it’ll start conversations. A glass apothecary jar, a shadow box, or a simple bowl by a window all work beautifully. For more ideas, see what to do with your collected shells. And if a shell ever develops a lingering low-tide funk after cleaning, that’s a separate (easy) fix — our guide on getting the smell out of seashells walks you through it.
5 mistakes that ruin good shells
- Bleaching too long. A short dip brightens; an all-day soak dulls color and leaves a smell that’s hard to shake.
- Drying in direct sun. UV fades shell pigment — dry in the shade.
- Oiling a sand dollar. Delicate skeletons want whitening and hardening, not oil.
- Reaching for muriatic acid. It’s dangerous and can dissolve the very detail you’re trying to save.
- Keeping a live one. Fuzzy, smelly or sealed shut means the animal’s home — and in Collier & Lee County it’s empty-only. Put it back.
Do it right and a bagful of dull, sandy shells turns into a shelf of glassy little trophies from your day on the water. Browse the full Sand Dollar seashell guide to put a name to every one of them.
From the Helm: Why We Hand You a Mesh Bag Instead of a Bucket
Guests ask us at the rail all the time how their shells get from the flat to the kitchen counter, so here’s the honest version. We don’t run a freshwater bucket on the boat — what we hand you when you step off is a shelling mesh bag, and that open weave does most of the rinsing for you before you’re ever back at the dock. Drop your finds in as you walk, dip the whole bag in the shallows, and the Gulf runs right through it. It sounds almost too simple, but the bag is the whole system.
The rinse that matters most happens right there in the water, before you climb back aboard. A quick dunk and a swish while you’re still ankle-deep carries the loose sand and grit off, and because it’s mesh and not a pail, the water drains back out on its own — nobody is hauling a sloshing bucket up the ladder or setting a puddle of saltwater on the deck for the ride in. You’ll feel the bag go light the second you lift it clear of the water, and that is your sign the worst of the sand is already gone.
That dunk is also when the sorting happens. Anything still lived-in — a hermit crab backed into a whelk, a sand dollar that’s still brown and faintly moving under your thumb — goes right back where it came from before it reaches your bag. On the islands we run to in Collier County the rule doesn’t bend, and we hold everyone to the same line: empty shells only. If you’re ever unsure, hand it to a mate and we’ll make the call — nobody has ever felt lectured for asking.
Back at the dock it’s easy — a garden hose and fresh water finish what the saltwater started, and a few minutes there knocks off whatever the tide didn’t. That’s as far as we take it on our end, because the deep clean that pulls the last of the salt haze and any leftover smell is a job for home, not the dock. We’d rather send you off with clean, sorted shells than pretend the rinse is fully done when it isn’t. Our shelling gear guide covers what you’ll want waiting for you once you’re there.
The one tip we press on everybody before they pull out of the lot: don’t seal damp shells in a zipped plastic bag for the drive home. Wet sand and a little leftover tissue with no air, baking in a hot car, is exactly how a beautiful whelk turns into a smell you won’t forget. Leave the bag cracked open an inch so it can breathe, and spread everything out in the shade when you get there. Do that much on the way home and the finish work later is nothing at all. Our shelling tours page lays out the trips themselves if you want to come fill a bag.